


On day 1 of my Rubik’s cube journey, I spent my time focusing on solving the white cross correctly and finding the best way to hold the cube so I could move it faster. I learned you need to start by matching up the white bottom pieces on the bottom layer to match up with different center pieces to have your cross in the right position for the next step. Unfortunately, it was not that easy because sometimes there were no white bottom pieces on the bottom, so per the video, I had to memorize a pattern of moves to do once this happened. This did not make sense to me at first, and I was getting worried, but after some fidgeting, I figured it out. I knew this whole process was not going to be easy, as this was only the first simple step, and I found it very confusing and spent almost an hour on it. I also learned you can simply hold the cube from the middle and top layers with your thumb and first two fingers. Then you place your ring and pinky finger hovering behind the puzzle. Next, use either of your ring fingers to push the certain layer in the required direction.
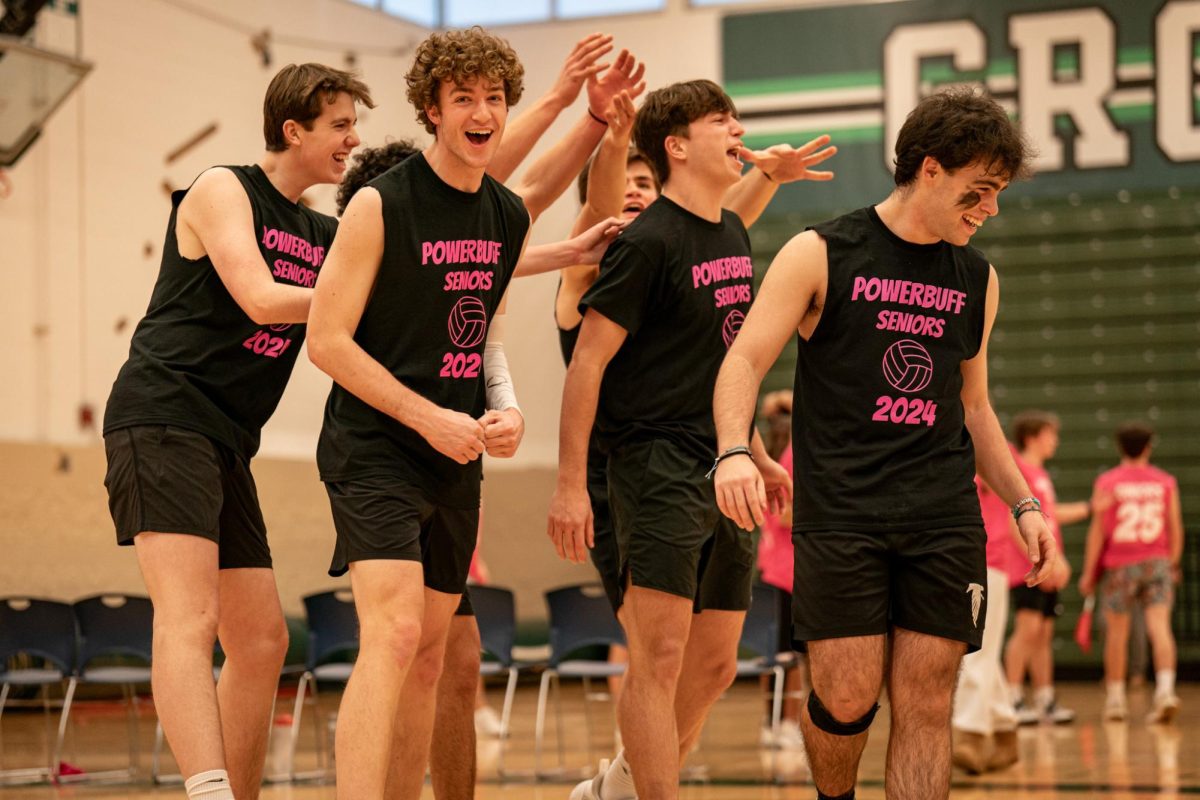
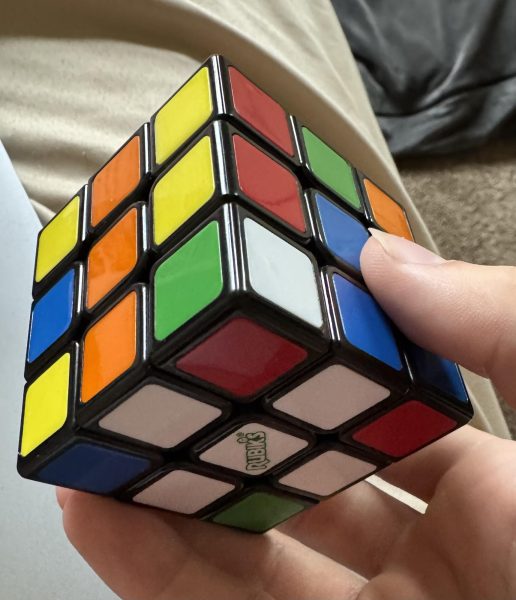
This is a picture from after I solved the white cross.
Day 2
The second day of my journey to solve a Rubik’s cube was mostly a filler week. I spent the time looking for more sources that explained how to solve it better and in different ways. I focused on turning in the annotated bibliography for the class and doing more thorough research. My hope was that this would be better for the long run and would make it easier for me in the future.
Day 3
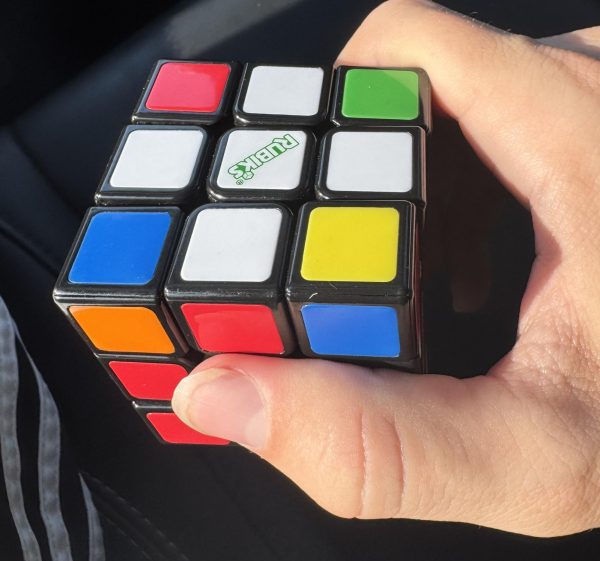
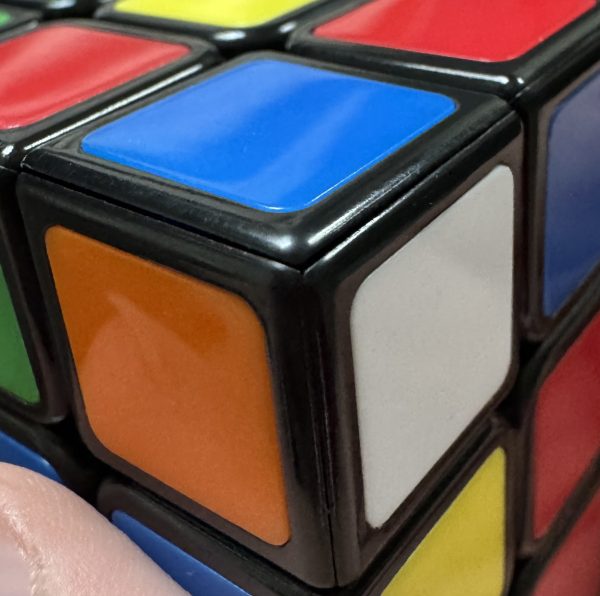
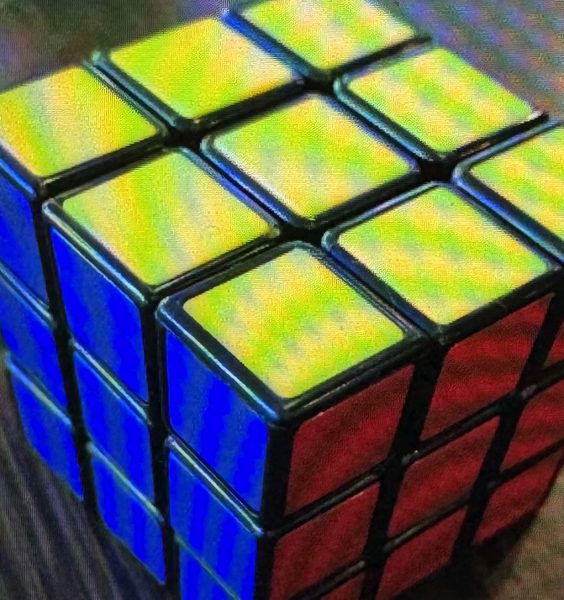
During day two, I actually found a much simpler and better source. This source definitely helped me when attempting to solve the white corners, which was my goal for day three. Before starting the white cross, I had to make sure all of my center and top pieces on the side were lined up from step one. As shown in the picture, the two green pieces and the two orange pieces in the center are lined up. So were the ones on the other side as well.
Now I could start solving the white corners. To do this, I had to attempt to take a white corner piece from the middle or bottom row, and match all three visible sides of this piece to the centers of the corresponding sides.
The white, orange, and blue pictured here need to match with the white, orange, and blue centers on the right.
To do this, I had to do the four moves, up, left, down, and right, and repeat the process until I saw that the corners match up with the middle pieces. I was given the choice to either do this with my right hand or left. The algorithms are the same for both hands, but just on different sides of the cube. Also, if there was a white corner piece that was on the bottom side of the cube, I had to perform the algorithm, up left, down, then right to move it back up, then I was able to start the process to match the corner pieces. I had to really make sure I remembered where I was on the cube at all times so I wouldn’t mess up and have to restart. This was definitely the most stressful part of doing this because restarting would have felt terrible. Furthermore, I had to continue this process until the whole white side was solved on the bottom and each corner matched up with the center. I realized at this point that I was actually having fun with this, as where at the start I was reluctant to even do this at all. This day I definitely made a lot of progress and was able to incorporate my newly learned hand positionings to help me as well.
Day Four
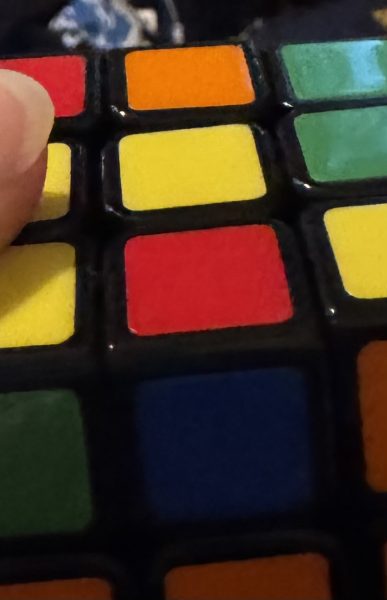
On this day, I set out to solve the second layer. For this step, I had to examine the top layer of my cube, which is the one with the yellow center piece. My goal for the first part of this step was to look for the pieces across from the yellow center piece that were a color different than yellow.
I also had to make sure the color directly below the top color was also not yellow. This step is almost like the opposite of the last step, where I was trying to match the same colors.
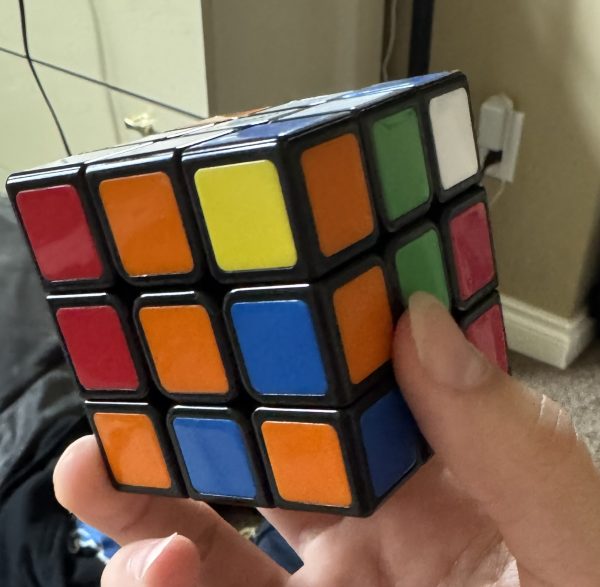
This picture shows the red top piece and the blue piece below it that I will have to get to the correct spot on the second layer.
Furthermore, once I found a pair that wasn’t yellow, I had to match the bottom color of the pair, which for me was blue, to the corresponding blue piece below it by rotating the cube. So far, it was pretty easy, but it got much trickier from here. After I did all this, I had to see if the top color of the pair, which was red for me, matched with the red center on the right side or the left. I was scared that if I tried, it might not match with either, but later in the video for this step, he explains it always will, no matter what. Next, if the top piece matched with the right center, I had to rotate the top layer left 90 degrees, and vice versa if it matched with the center piece on the left face. After all this was done, I then had to perform two of the basic algorithms on the right layer of the side with the newly formed matching pair. This will help move the bottom corner piece to the second layer without messing up any other parts of the cube. If I’m using a leftwards algorithm, I need to rotate the cube up, to the right, down, and then back to the left, and if I’m using my right hand, I need to do a similar pattern, which is up, left, down, and then right. However, it wasn’t explained perfectly in the video which algorithm to do first with so I did trial and error to figure out that it all depends on which side the top piece originally matched to. If the top piece originally matched with a left center, I had to do the left one first, but if it was the opposite, I had to do the right one first. After I did this, one section of the second layer was complete. I had to repeat this process over 12 times until all of the second layer was complete. The first few times, I had to keep rewatching the video to remember all the steps and make sure I didn’t mess up at all and forget anything. After about the Fifth time, I tried it on my own and did it, although it was pretty slow. After this, I kept trying to do it faster and faster, and before I knew it, the whole second layer was solved. I ended up getting so good at the first three steps at this point that during the day, if I was bored, I would mix it up and do them all over again and show my friends.
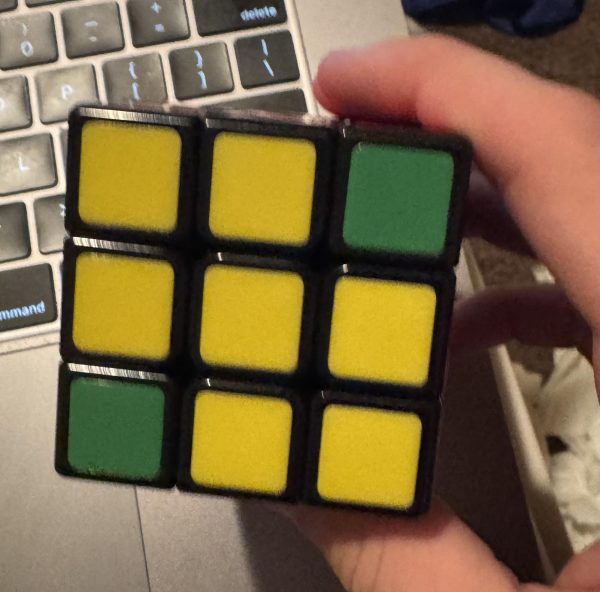
Day five: The start of day five did not go exactly as planned. I set out to solve the yellow cross on top this week. About five minutes into watching the video and trying it, I rushed one of the steps, got confused about where I was on the cube, and then everything was messed up. I had to restart the whole cube from scratch. I was pretty devastated but I soon realized that I was much better at this now. It took me about 20 minutes, but I finally got back to where I began. To make the yellow cross, I needed to do one of two things. I had to look at the yellow top face and see if there were more than two pieces on it. If there was, I had to rotate the face 180 degrees clockwise. If not, I just had to leave it as it is. I then had to repeat a cycle of going to any side face, rotating it down vertically, and then doing one of the right algorithms as many times as it took to get one piece in the cross. This algorithm is, of course, moving the right side of the face up, to the left, down, and to the right. I did this step relatively fast, so I decided I would do another step today, so I didn’t fall behind in the project. Here is a picture of the yellow cross.
The next step was also simple, I had to match all of the cross colors to their respective centers. According to the video, I only had to repeat the step I was about to do one or two times, depending on what my cube looked like, so I was pretty happy about this. If the cube had two pairs matching that were next to each other, I had to do the set of moves I was soon to learn, only one time. If the matched pairs were on opposite sides of the cube, I had to do it two times. I was fortunate enough to have the matched pairs next to each other, so I did it once. Then he explained a set of seven steps, and I had to make sure not to mess it up this time, or I would have to restart everything. I had to start on the face opposite to the matched pairs. Then I had to look for the edge with two of the same pieces on that face. I had to move that pair of pieces up and to the left 90 degrees, then turn the cube and rotate the right side of the face back down. Since he did it so fast in the video, I had to slow it down to make sure I had it right. Next, I had to move the pair another 90 degrees, then put the right side down 90 degrees, and finally move the matched pair back to the start. I was relieved to see that after all this, I still had the yellow cross and now all four matched pairs.
Day six: At this point, I was in the final stretch of finally solving the cube. I had to solve the final top corner pieces. I had to figure out how many corner pieces I had matching the different middle pieces. If I had all four corners matching, I was very lucky, and I was done with this step. I had only one matching corner, so I thought I was unlucky, but it actually didn’t take long at all. First, I had to look at which side the matching corner was located, and turn the cube so that the corner was in the top right of the side facing me. Then, I had to rotate the right side to the left and then up. Next, I rotated the left side to the left and then up. I then had to do the opposite of this, starting with the left side rotating right, then up, followed by the right side moving left and then down. After doing this, I assumed I would have to repeat this about eight more times because the cube in the video didn’t have all corners matched until eight repetitions. By some miracle, every corner was matched after the first algorithm. Now, I was on the final step. I just had to solve the rest of the yellow layer. I had to take a yellow corner piece on the middle face and move it into a corner that needed to be filled in the bottom layer. Multiple of my sources specified to make sure on this step, not to shift the top two layers at all when moving the yellow pieces, and only the bottom layer. If I shifted the top two layers, then did the step, I would mess up the whole cube. On my cube, I already had one out of the four yellow corners done, so I only had to do three. The algorithm for this one was different, as it was up, then right, then down, and then left. In previous steps, the left was first. I carefully did this algorithm for each specific yellow corner until I saw it was in the right spot. It was scary, so I made sure to take my time. After six weeks, I finally did it, I solved my first Rubik’s cube!!! I recommend doing this to everyone as it was not only super fun, it also helps with perseverance, confidence, and will help develop many other skills as well.